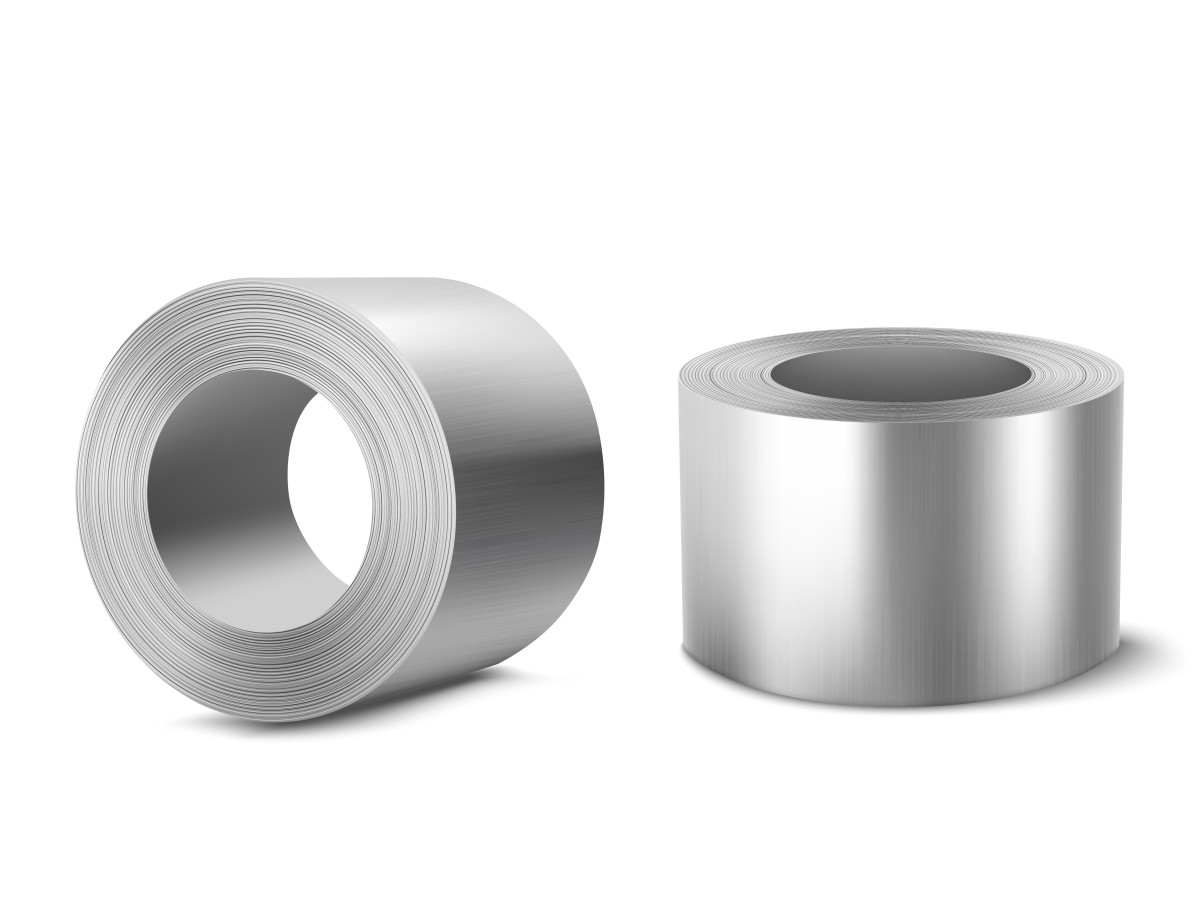
Installing galvanized strip may seem like a simple task; however, to achieve a reliable and long-lasting result, it is essential to consider numerous important nuances. In this article, we will thoroughly examine all aspects of working with galvanized strip and share professional secrets for quality installation.
Features of Material Preparation
First of all, it is essential to understand that galvanized strip is a versatile material used in various areas of construction and manufacturing. The correctness of its installation affects not only the aesthetic appearance of the structure but also its safety and durability. Therefore, it is crucial to prepare thoroughly for the work and follow all specialist recommendations.
Let’s start with the preparatory stage. Before beginning the installation, it is necessary to accurately assess the scope of work and prepare all required tools. For professional installation of galvanized strip, you will need the following set of tools:
- Metal scissors or a specialized cutting tool. Used for precise cutting of the galvanized strip to the desired length.
- Tape measure or measuring tape. Used for accurate measurement of the required length of the strip and determining the sizes of mounting elements.
- Marking pen. Allows for marking on the strip and the surface where it will be attached, ensuring installation accuracy.
- Protective gloves. Necessary to protect hands from cuts by the sharp edges of the strip and tools.
- Installation gun or screwdriver. Used for tightening fasteners such as screws or rivets, ensuring reliable attachment of the strip.
- Strip tensioner. Allows for even tensioning of the strip before fixing, providing strength to the connection.
- Level. Used to check horizontal and vertical alignment during installation, which is especially important for achieving a level and aesthetic seam.
- Fasteners. Screws, rivets, or other fastening elements necessary for securing the strip to the surface.
- Wire brush. Used to clean the surface of rust and dirt before installation, which increases the adhesion of glue or fasteners.
- Pliers. Allow for various auxiliary tasks, such as bending the edges of the strip or holding small parts.
After preparing the tools, carefully inspect the work surface. It should be clean, dry, and free of dust, dirt, and oil stains. Any contamination can significantly reduce the quality of the installation and lead to premature failure of the fastening. If necessary, clean the surface with a brush and degrease it with special compounds.
Main Stages of Installation
Now let’s look at the main stages of installing the galvanized strip. Start the work with careful marking. Use a level to ensure a straight installation line, especially if the strip will be visible after completion. Mark using a pen, making clear marks at the points of future fastening. When working with long strips, it is advisable to mark with a slight excess, considering possible material shrinkage.
When cutting the strip, it is important to use quality tools that ensure a smooth cut without burrs. Remember that uneven edges can not only spoil the appearance but also cause injuries during further use. After cutting, it is recommended to lightly treat the edges with a file or sandpaper to remove sharp corners.
Other Installation Features
During installation, it is important to maintain even tension on the strip. Excessive tension can lead to deformation of the material or even tearing, while insufficient tension will cause sagging of the strip and instability of the structure. To monitor tension, it is advisable to use special tensioners that provide optimal force.
After completing the installation, it is necessary to conduct a quality check of the work performed. Carefully inspect all fasteners, ensuring there are no sagging or deformations. Check the reliability of all connections and reinforce problem areas as necessary.
It is important to remember about the thermal expansion of the material during installation. If the strip is installed in areas with significant temperature fluctuations, it is necessary to allow for compensatory gaps. This is particularly relevant when installing long sections of strip or working in extreme temperature conditions.
When working with galvanized strip indoors, it is crucial to ensure good ventilation. Cutting and processing metal inevitably generate metal dust. For your safety, remember to wear protective gloves, goggles, and a respirator.
In conclusion, it should be noted that quality installation of galvanized strip requires attention to detail and adherence to the technological process. By properly executing all stages of work, you will achieve a reliable structure that will last for many years. Do not neglect preparatory work and use quality materials and tools—this is the key to a successful result.

